My SO had surprised me with a selection of clearance fabrics from the spooky section of a famous discount department store, and because I will take any excuse to avoid actual work, I decided to get DIY all over my pin board.

So I set to work removing everything and trying desperately to keep them all in once place in my cramped confines.
Also note, My walls are purple and my lighting is shit, so these pictures aren’t the best quality. Deal.
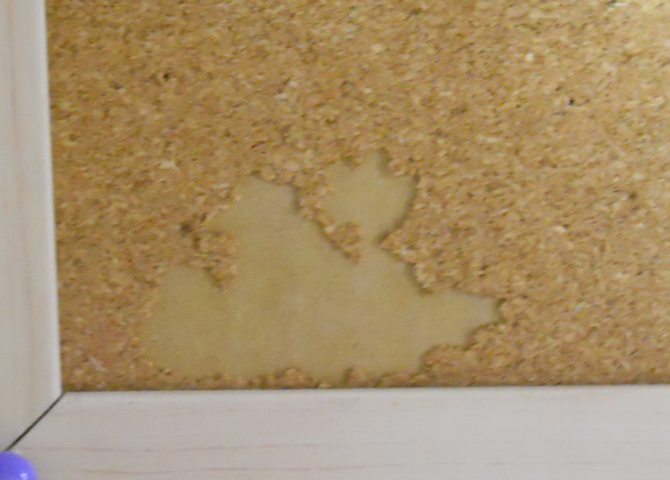
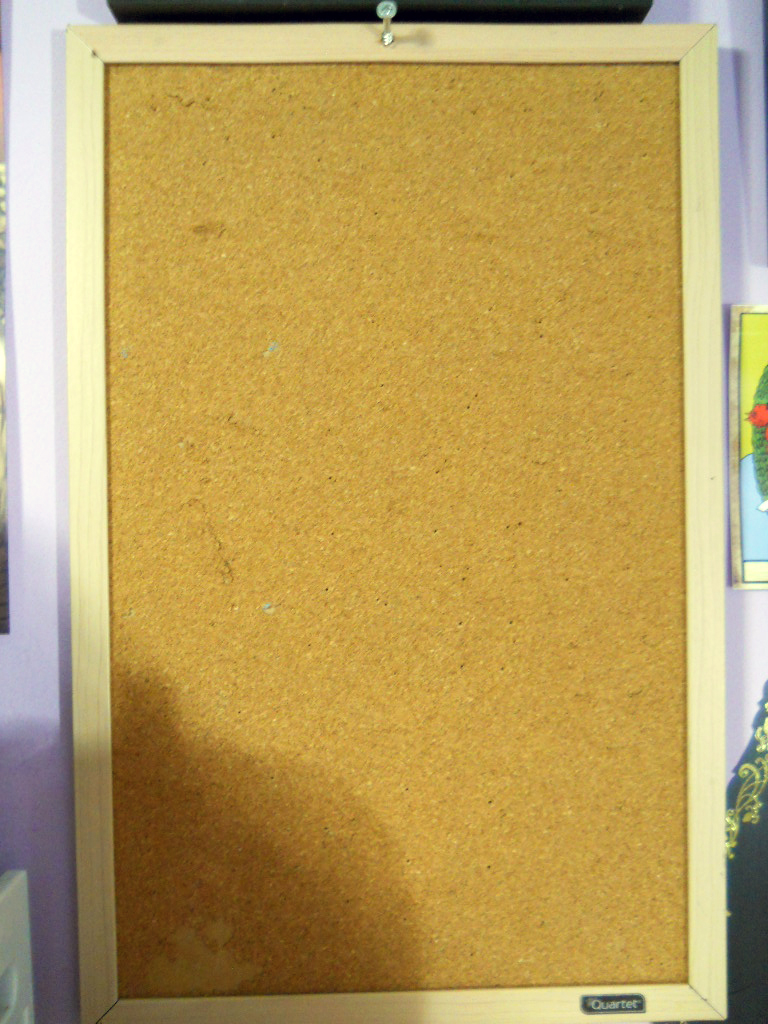
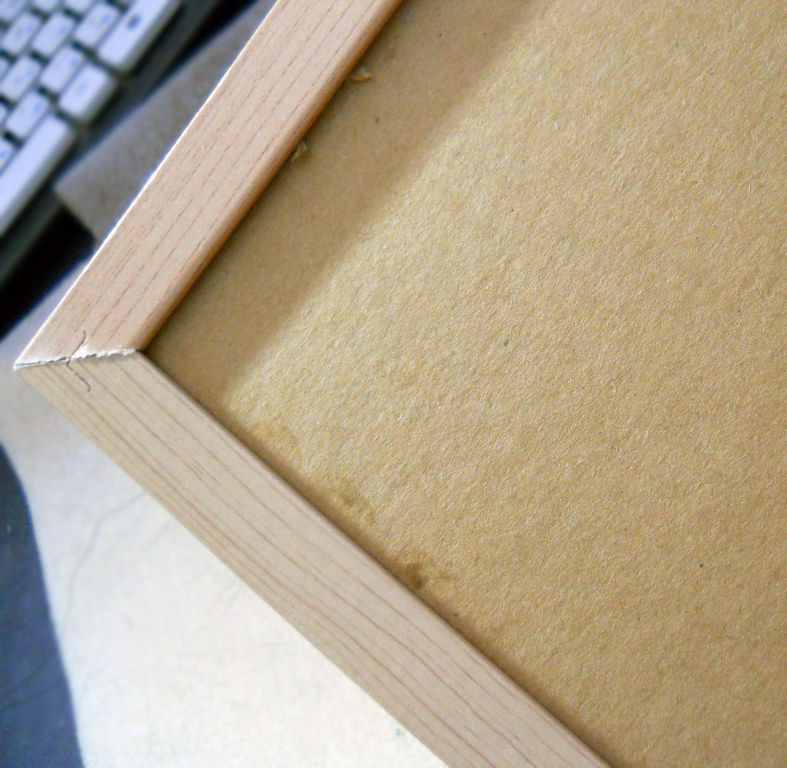
I had initially intended to do the project the “correct” way and take apart the frame, glue the fabric on the board nice and tight so that everything sat pretty and reattach the frame. But what I should have expected:
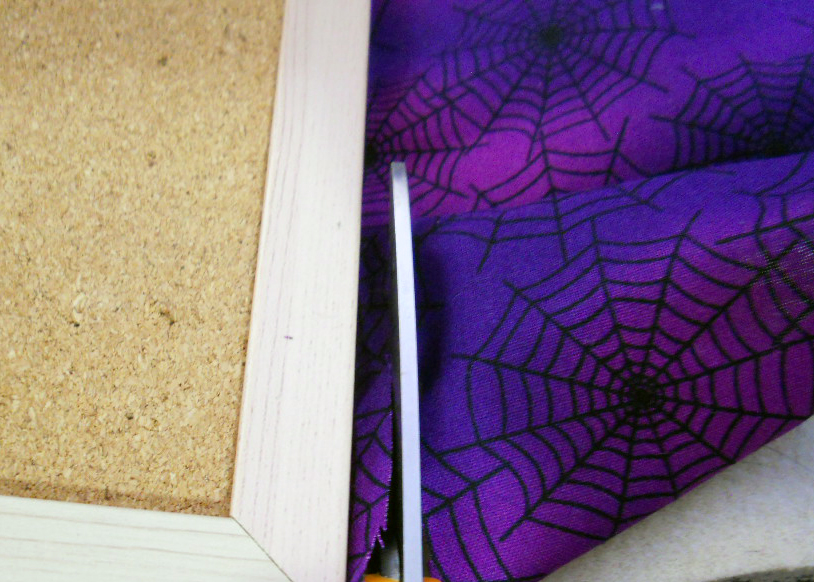
Not to be swayed by this obstacle and really not wanting to put everything back together, I tried a brute force method and rammed a plastic bag under the seam because my desk is a mess and that is what I had in front of me.
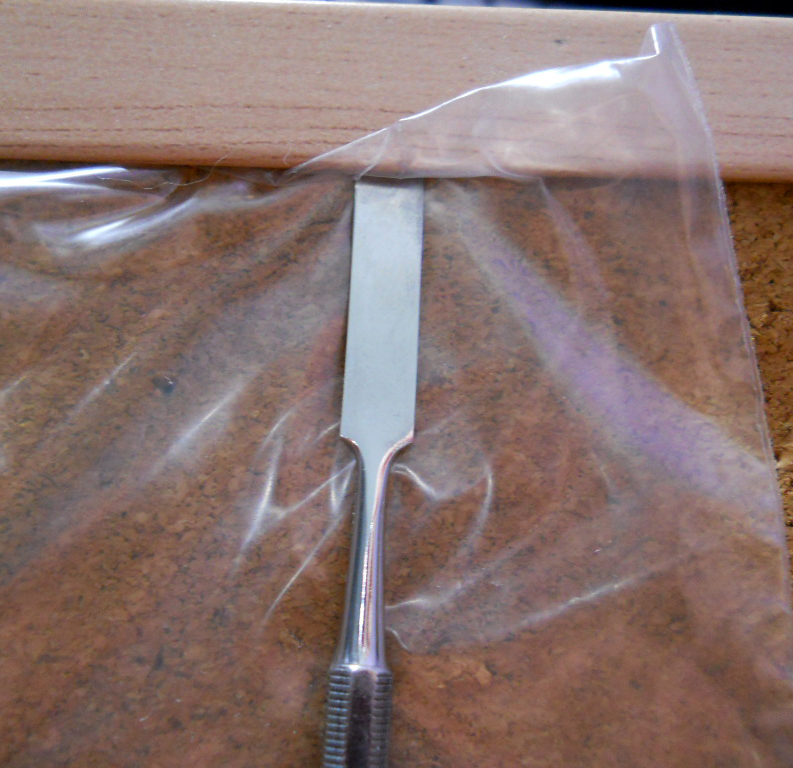
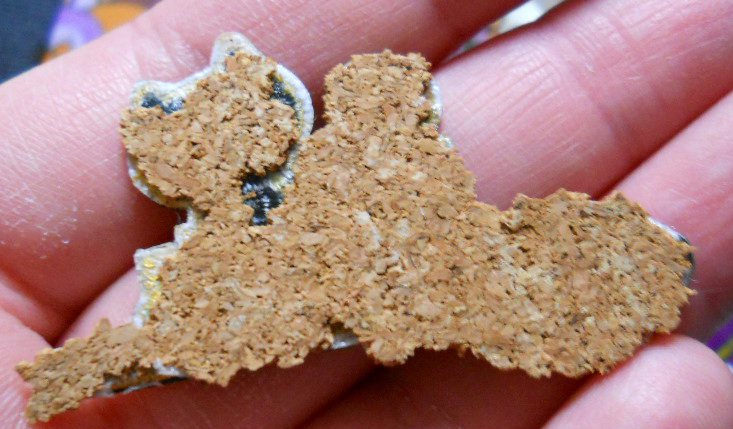
That is some dental tool that I got a long time ago for….reasons…
Satisfied with the amount of room I had, I then approached the difficult task of choosing a fabric:
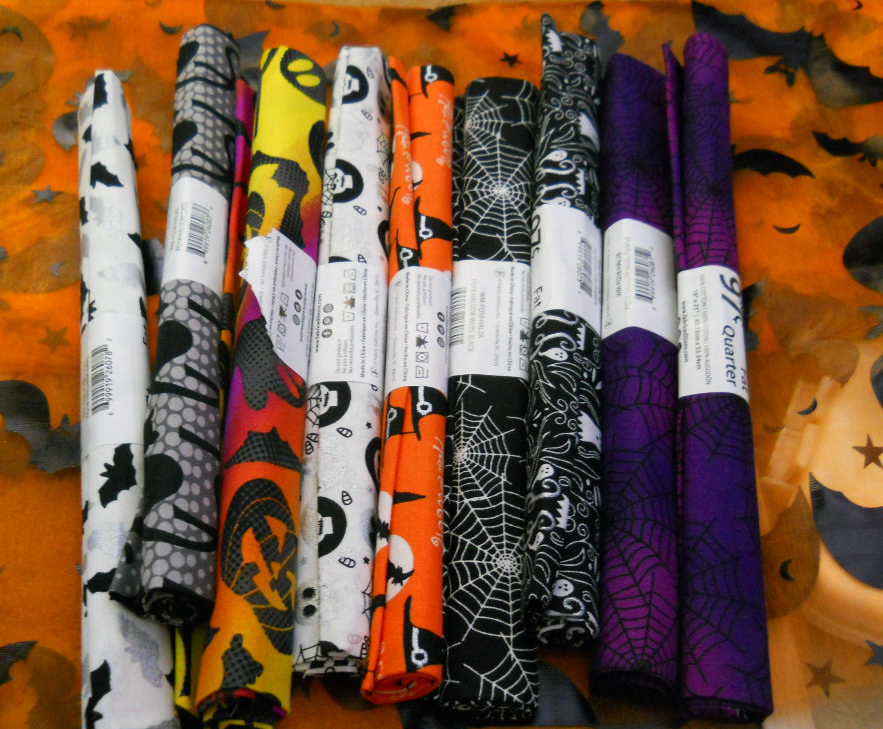
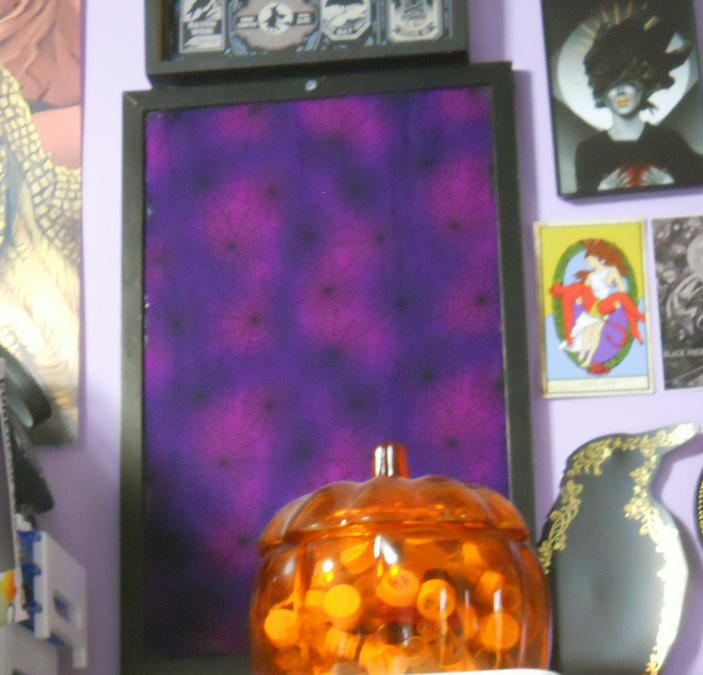
I went with the purple spiderweb since there wasn’t a lot of contrast in the design and it would not distract from the shininess of the pins.
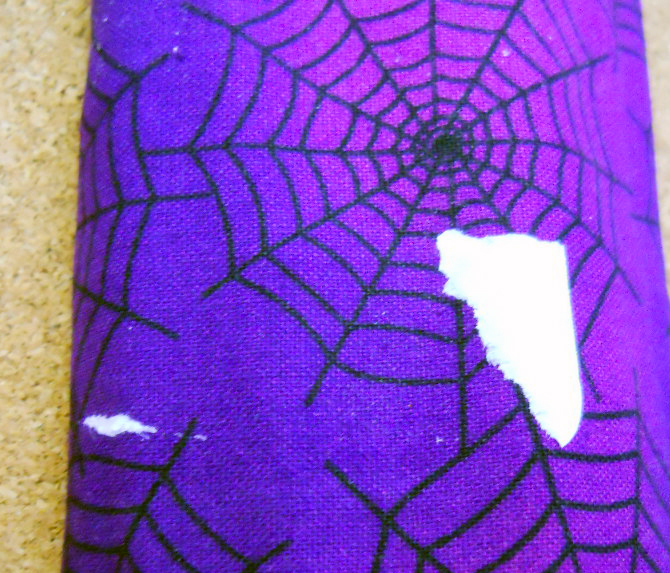
Then I got to unwrapping the fat quarter….
I cut a piece that was barely larger than the cork board.
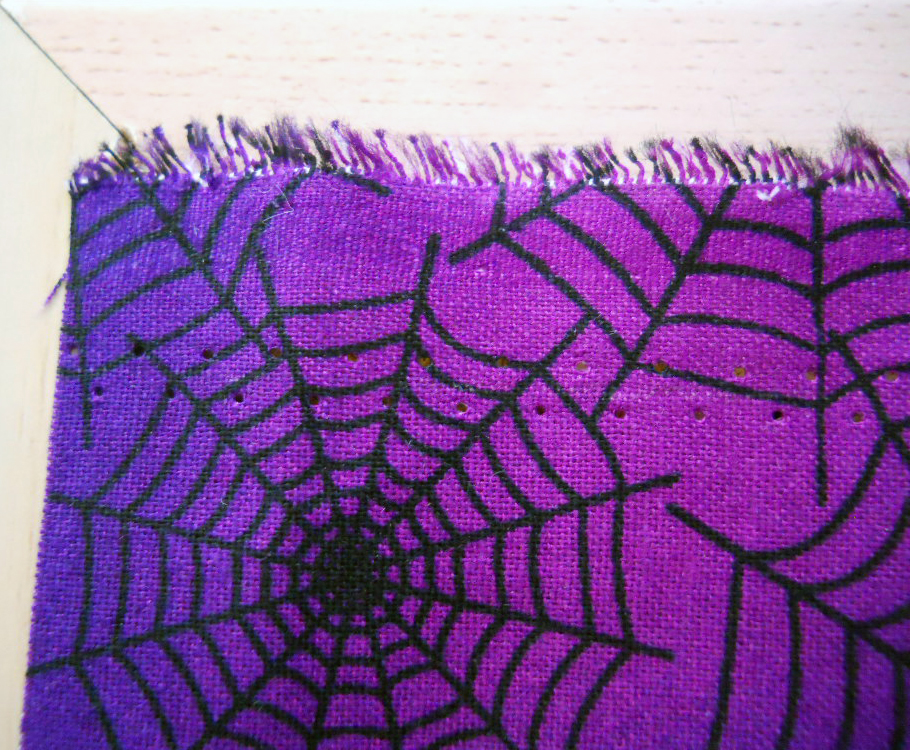
I tried to get all fancy and shit using the side of the pin board to straighten my edges but I have absolutely no room on my desk or craft table. I failed miserably but it turns out it doesn’t fucking matter anyway since the edges are getting tucked.
There was nothing left to do except get tuckin
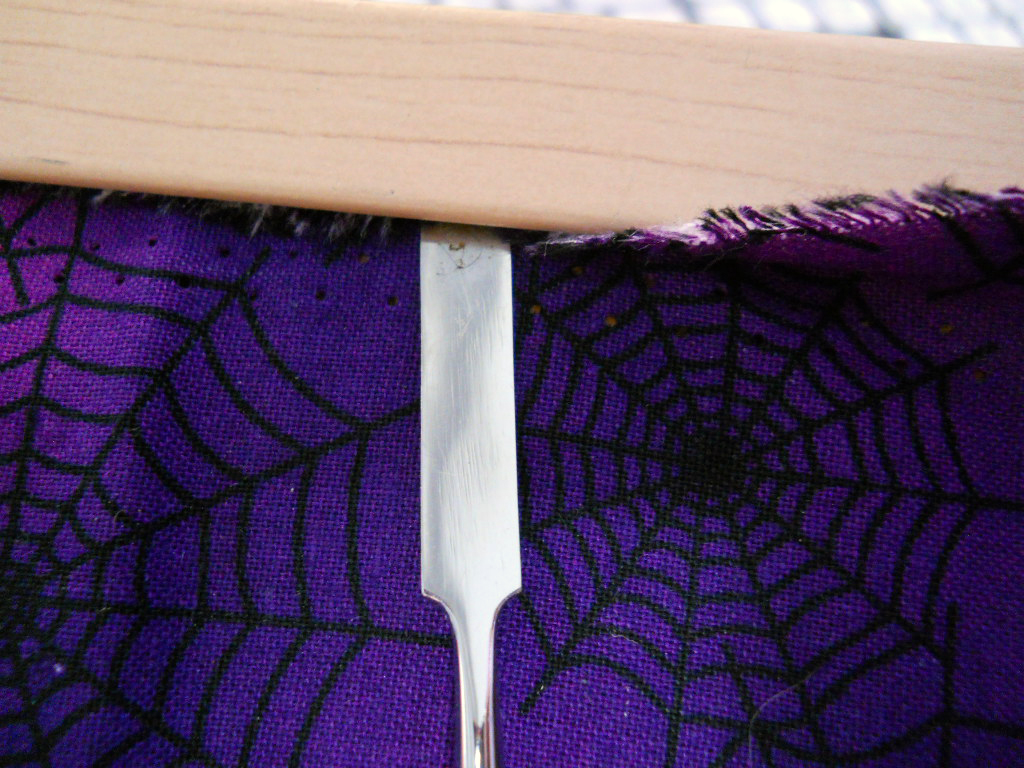
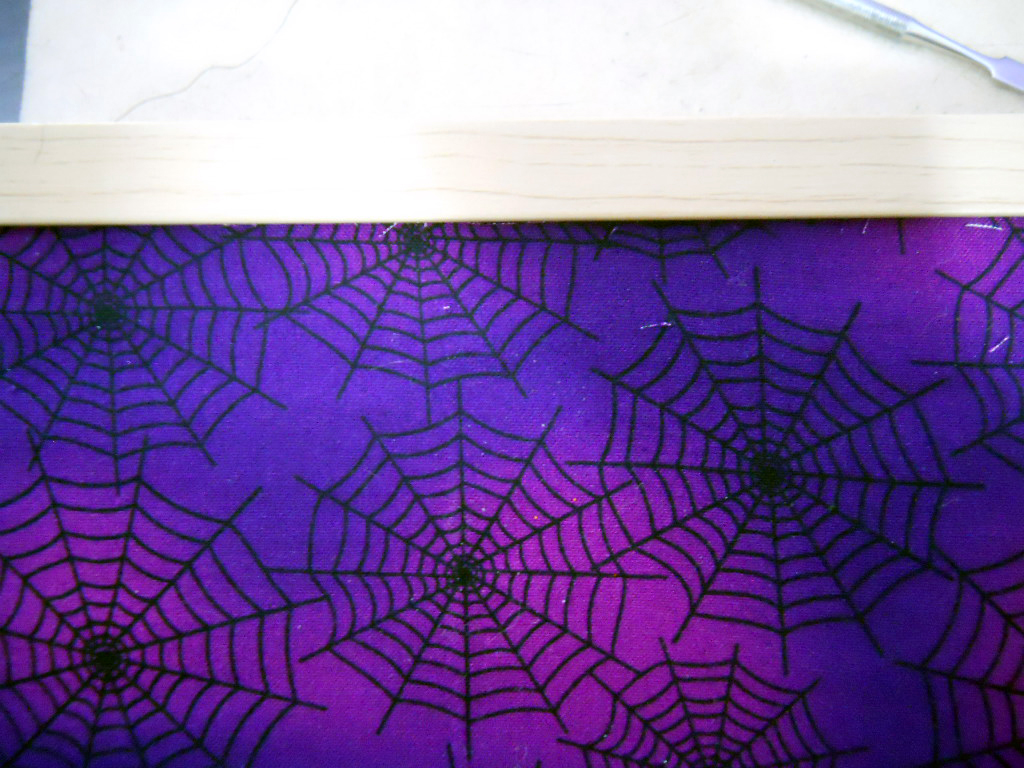
CLEAN LINES ACHIEVED
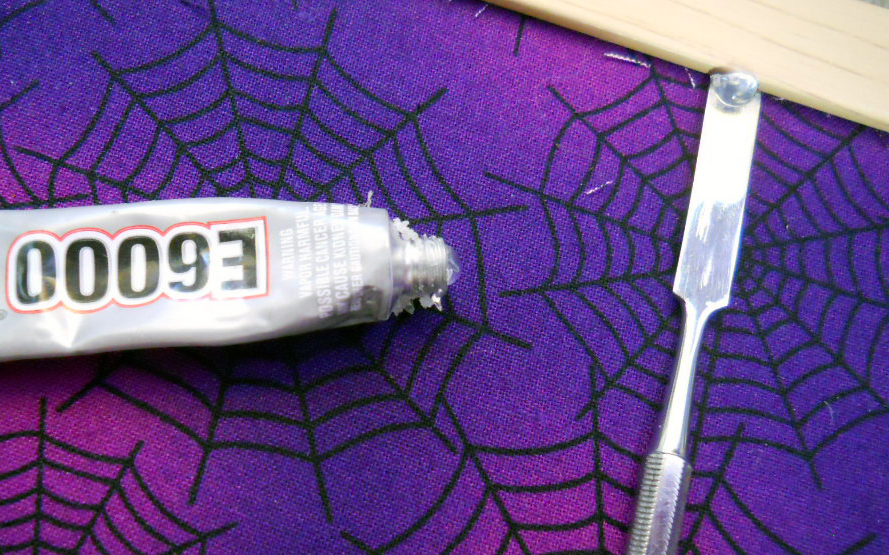
I *THOUGHT* I could be extra fancy and shove some glue in there to make it more secure. But E-6000 solidifies instantly and refused to get shoved in there. Something more watery would probably help. After being covered in a stringy mess, I gave up and only rammed it in the corners and the center of the long sides.
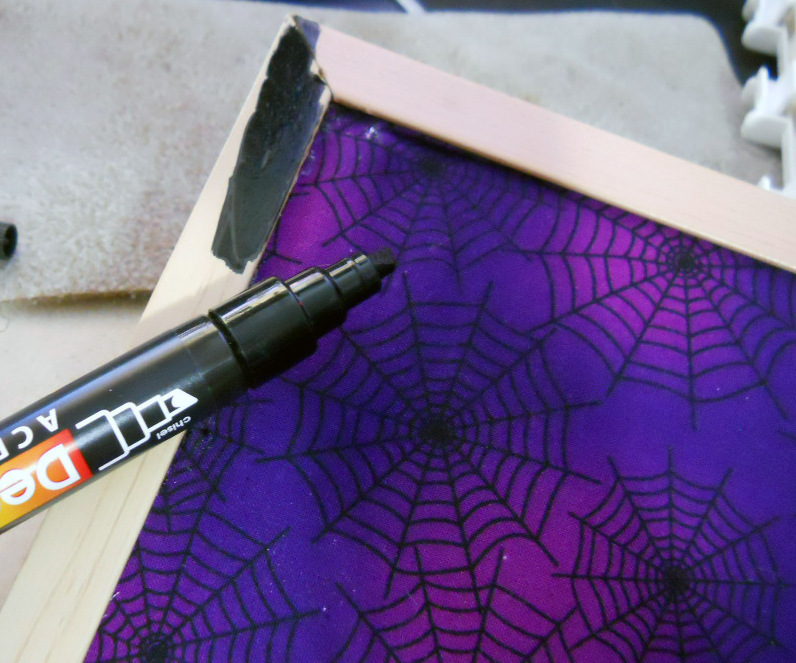
After that, I gave up and resorted to painting the frame. Which I had this giant paint pen, so that made things a hell of a lot easier. You could use whatever paint you want for this. I won’t judge you. It’s also probably a better idea to paint the frame BEFORE you tuck but I got this far I wasn’t turning back now.
And like hell I was painting the back side. Fuck that noise.
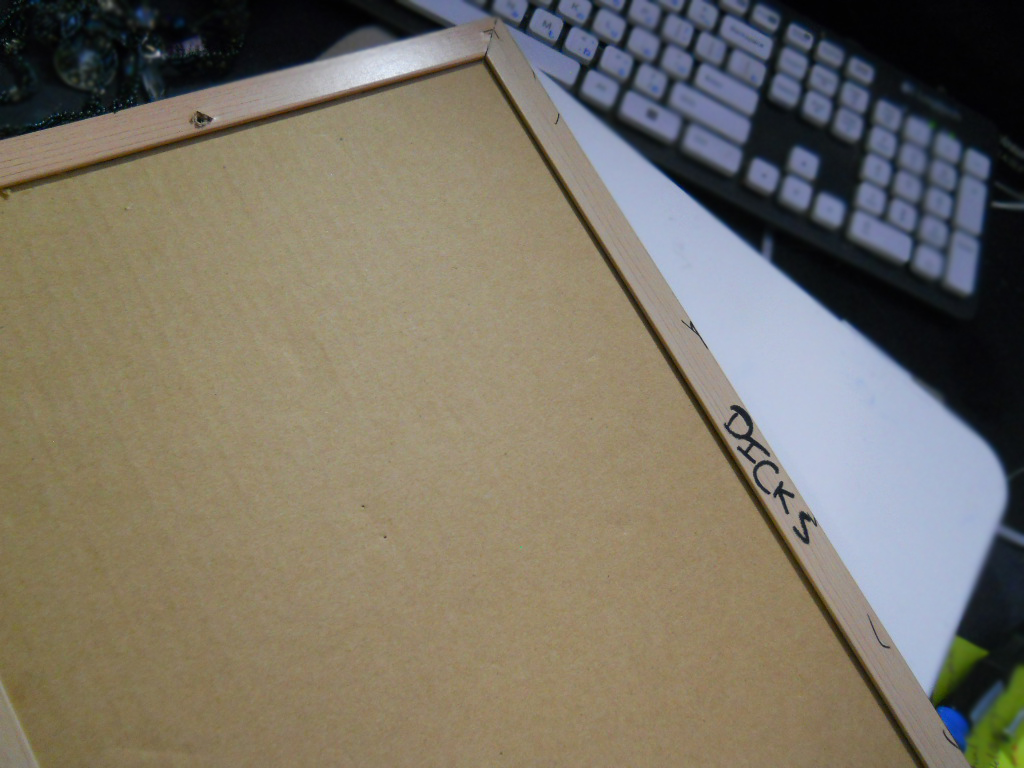
So I waited until the bare minimum time for the paint to dry so I don’t piss of my landlord by stamping DICKS on the wall, then hung the thing back up.
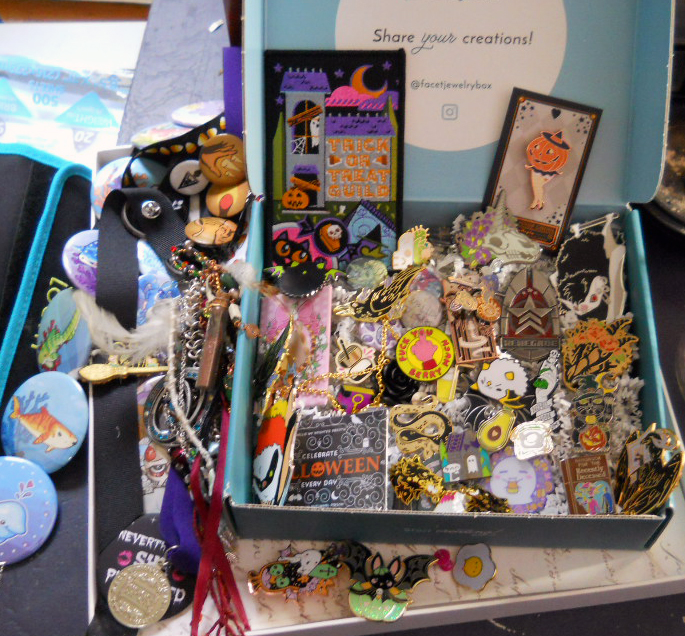
Now you would THINK it would be satisfying to put those pins back where they belong….
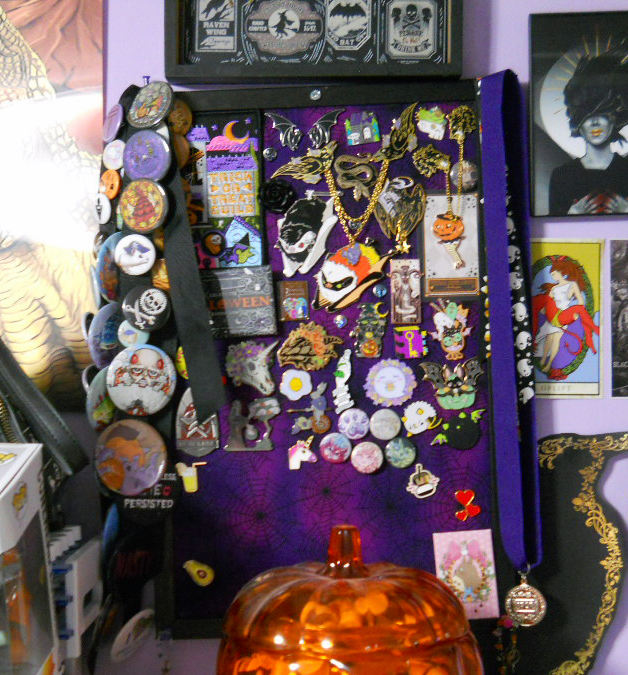
BUT THOSE FUCKING BUTTON RIBBONS KEPT FALLING OFF.
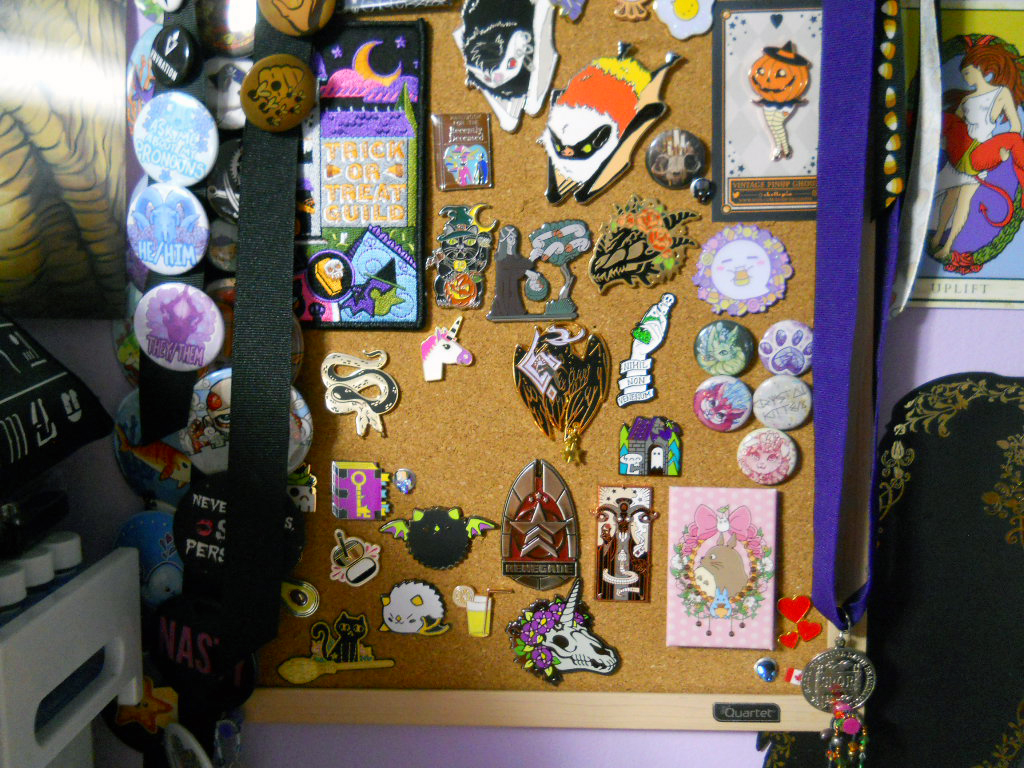
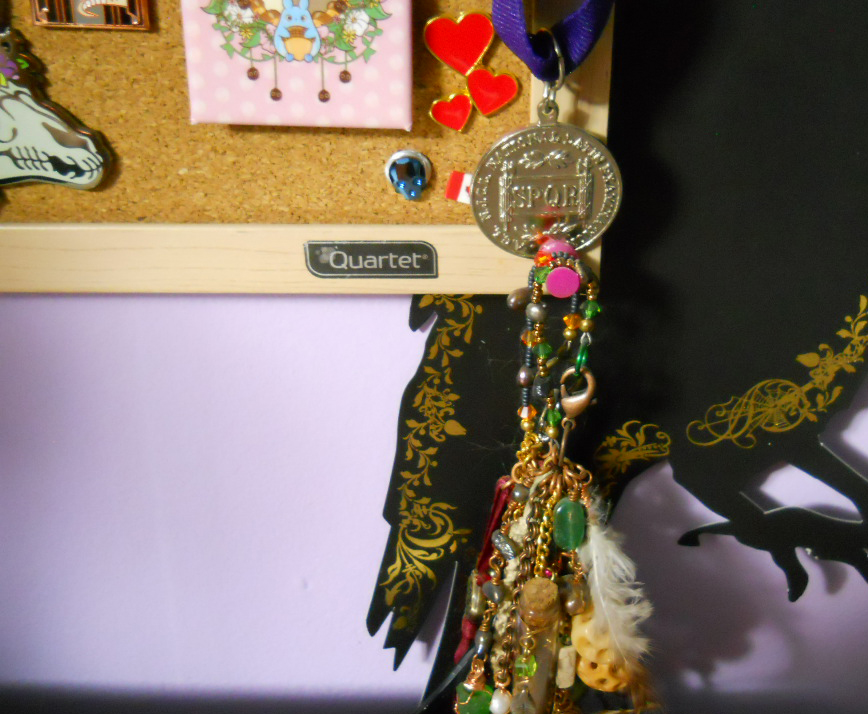
About 45min later everything was settled and I have a more aesthetically pleasing display for my pins. I ordered them from Spooky > Spooky Cute > Cute> Completely unrelated to anything whatsoever.
HA-HAAAAAA CONSOLIDATION!
Now I have room to buy more pins.
And that was my afternoon. Now I have to go find another distraction so I don’t do the work I was supposed to do a week ago. This may or may not inspire you do get your own display boards or pin collection. Go forth and get crazy. Or something.
Until Next Time!
-Odin