It had been my wildest dream to play with Precious Metal Clay (aka PMC), and had refrained because the material is so damned expensive and I had always thought it took wayyyyy too many supplies to make it plausible.
HOWEVER, I came to the realization that I own a Brulee torch, the fire demon collecting dust on the top of my fridge. And Copper Clay as opposed to Silver is considerably cheaper (In addition, you can make the shit yourself.)
SO THE ADVENTURE BEGINS!
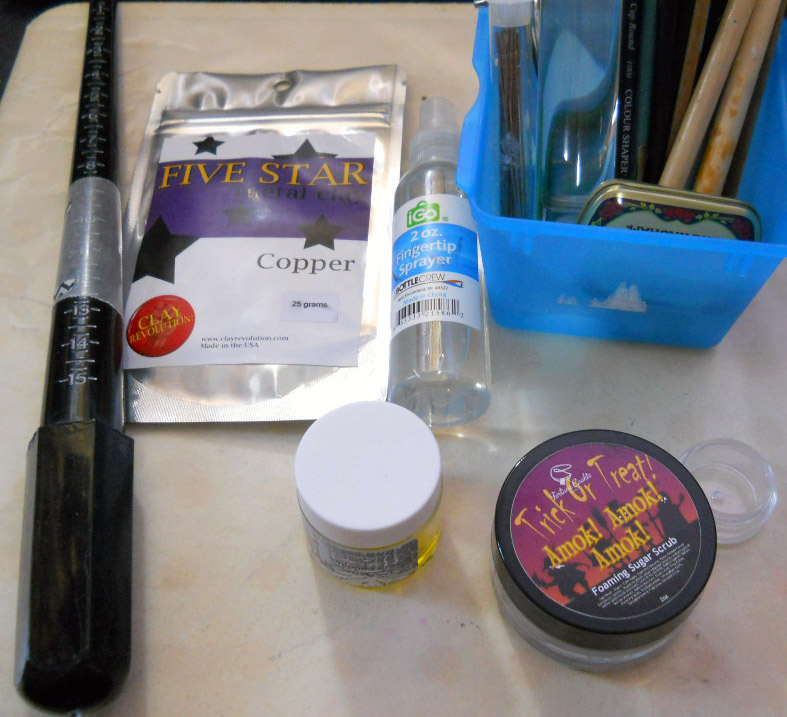
Since I have experience with Polymer clay, pretty much ALL the materials used have been re-purposed for this glorious escapade. I have a shitton of empty jars and containers from my addiction to stinky smelly things, so they made the perfect receptacles for the various fluids this craft requires. Mmmmmm fluids.
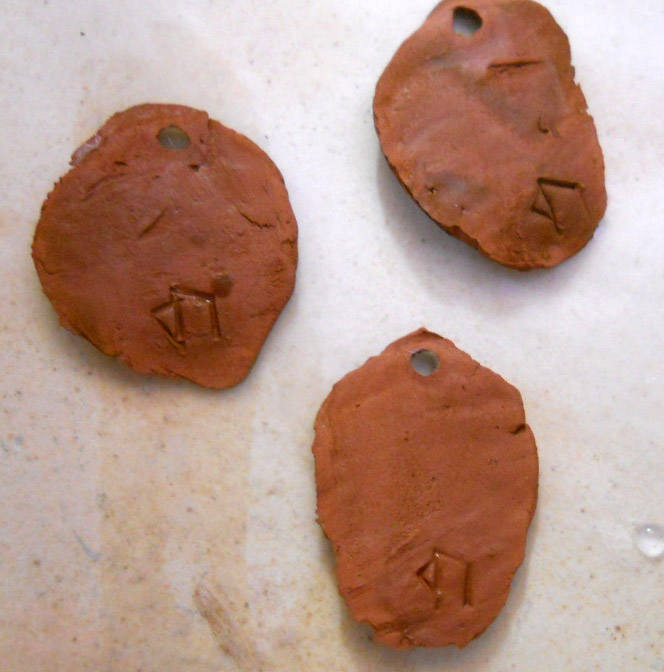
And so….I set to work! I had plans for a few rune pendants as gifts for friendly accomplices, as well as a ring for myself.
But much to my disappointment, not everything went as well as I planned…
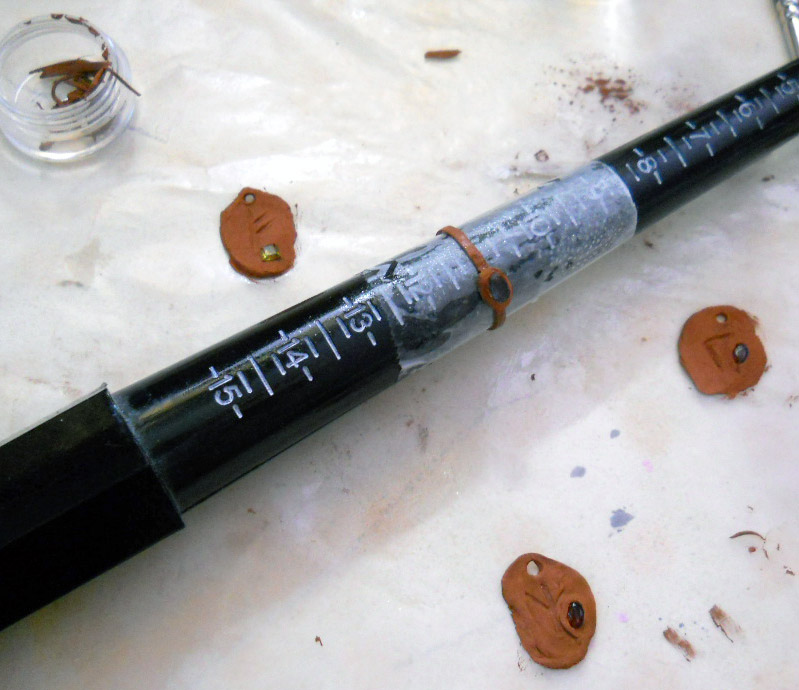
So despite resources telling me that wax paper and oil was the way to go to prevent sticking….the wax paper melted, leaving a nasty goopy mess on my clay when I tried to reposition things.
When I finally got tired of fighting with the bullshit, I let everything dry off. For the minimum amount of time required because I am an impatient goblin.
And because of the aforementioned sticking….the ring did not survive, snapping into several powdery crusty pieces.
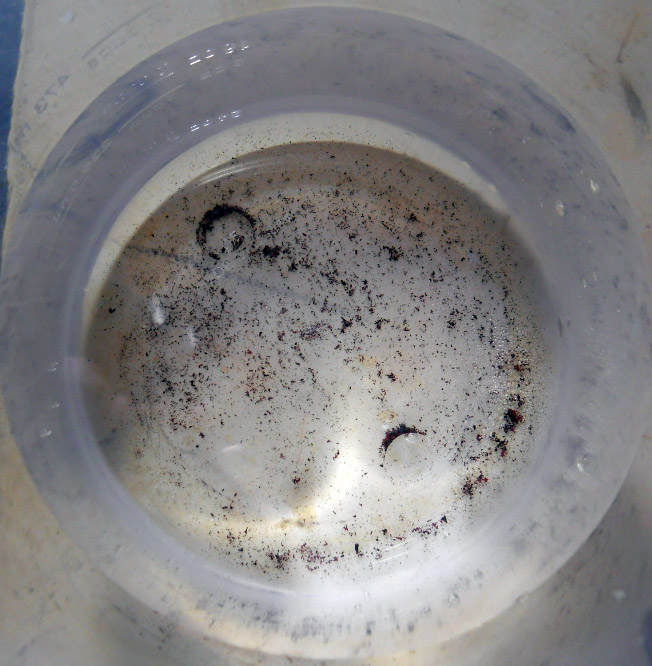
After chucking the mess into my slip jar to turn it into a spiteful glue, I set to firing the survivors.
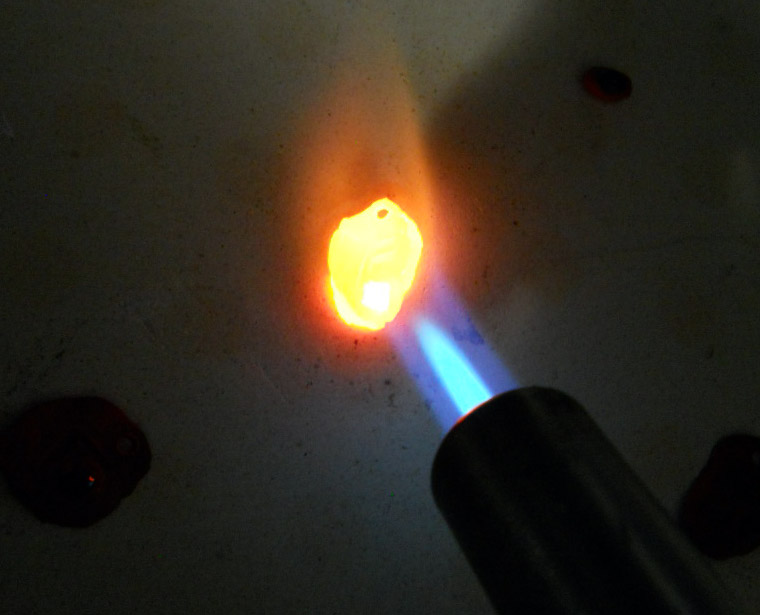
The torch is not an entertaining experience. Sitting there with music on and watching the clock obsessively while I try and determine “Is it done yet?”
Also note, things get hot. Like really hot. You now have the materials for a steam maker: Just Add Water!
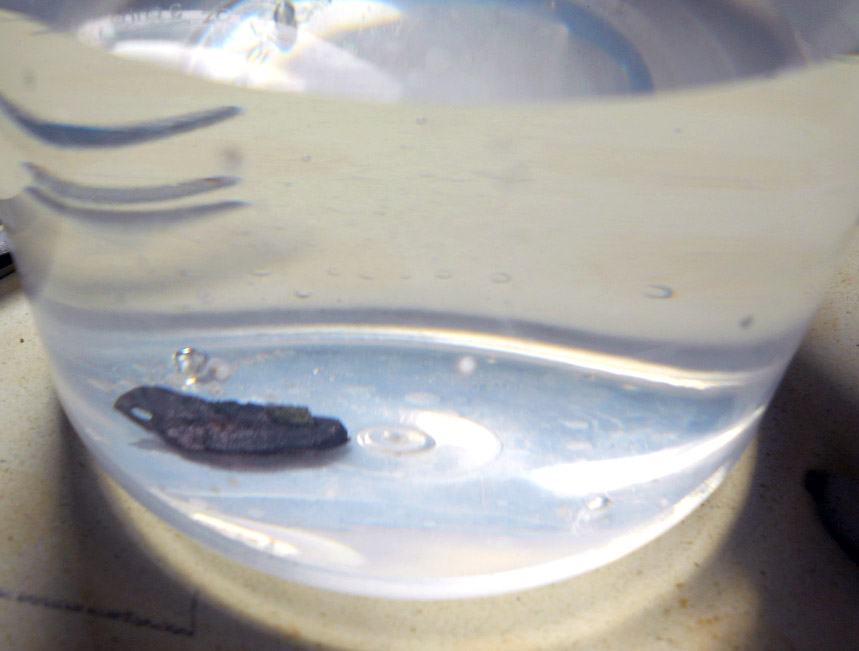
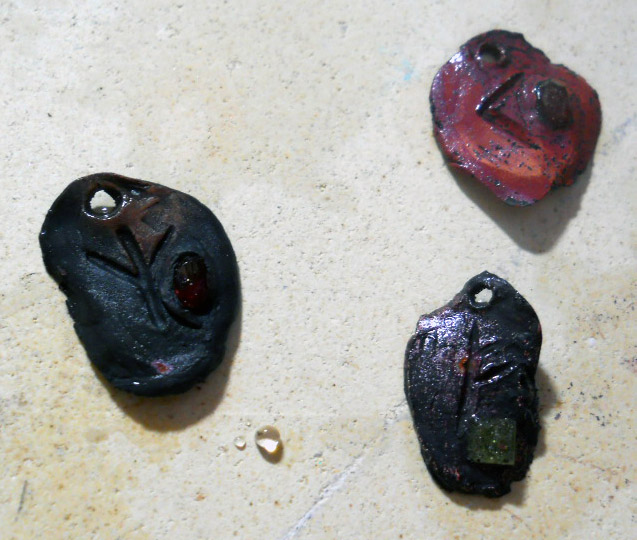
And these are the results:
Now what? Stick it in water, I guess?
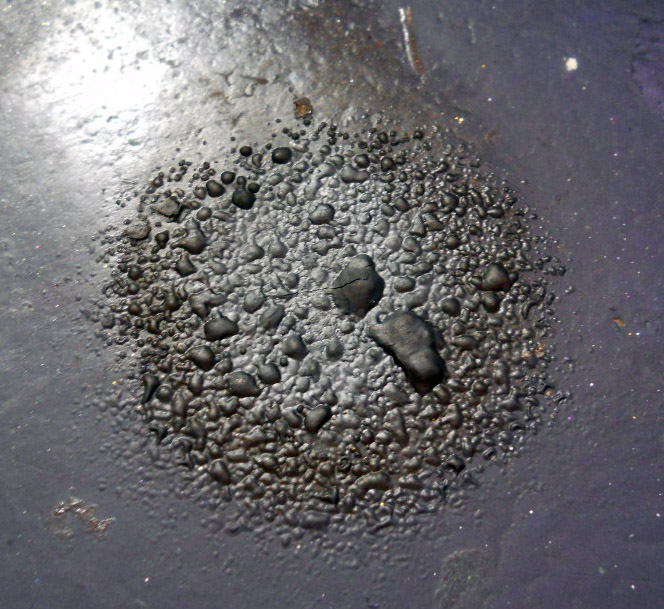
It makes cool char patterns on my ceramic plate though:
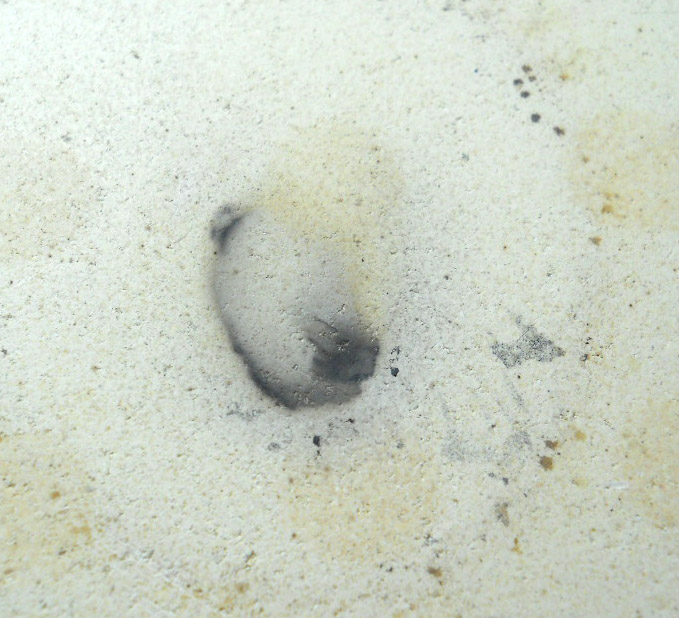
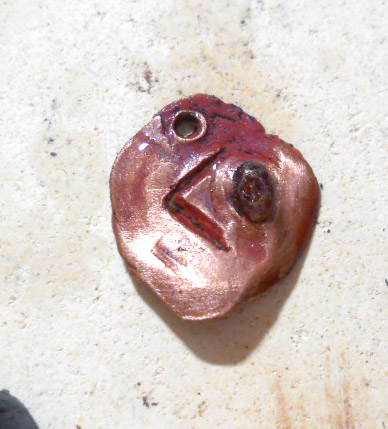
I may or may not have fired that specific piece enough, since ONE of the pieces made a cool bursting noise when quenched, taking off a good portion of the oxidation crust.
I took to scraping off the surface with sandpaper, since that was all I had on hand. With not so great results:
My attempt with the second piece…ah…fuck.
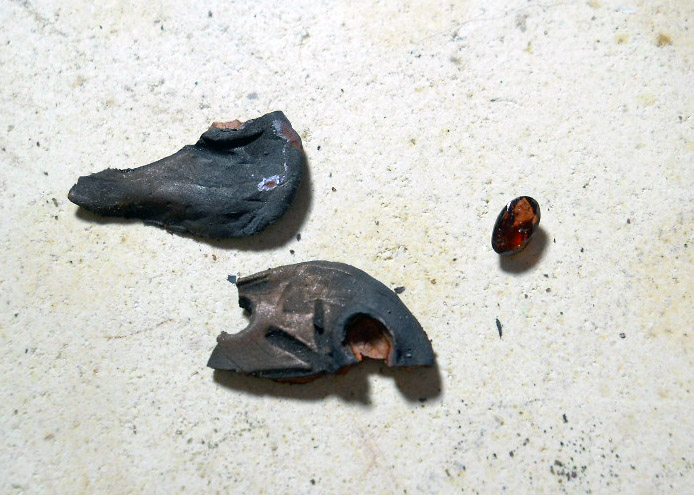
FUCKIT I’M DONE.
On to cleanup. Time to remove my firing plate from my work surface so I can continue to use it to browse the internet for cat pics after a stressful ordeal.
It turns out I needed a teensy more preparation and supplies in order to continue my adventure.
DAY 2
My next adventure was MORE SAFE as I propped my ceramic firing plate on top of two bricks bought at a hardware store for a dollar.
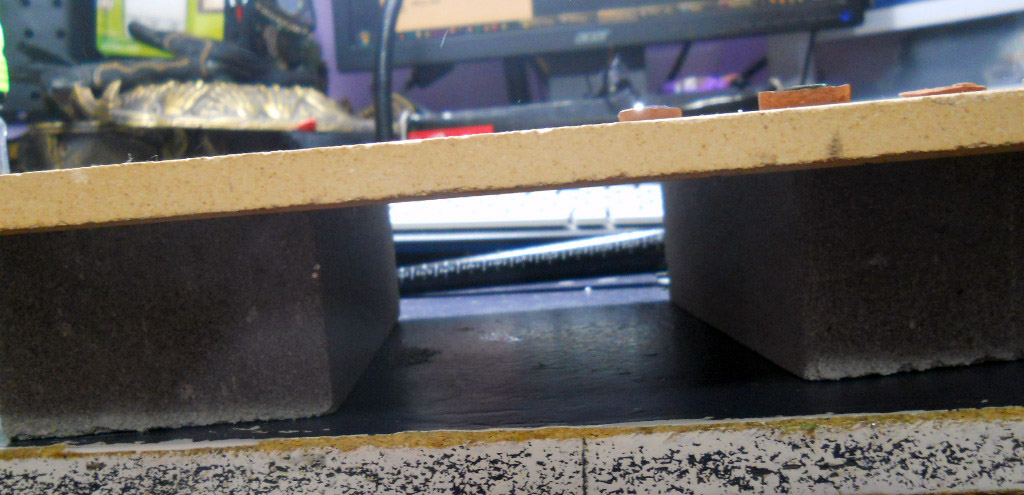
While I would have preferred fire bricks, apparently winter is not the best time to buy them. Because NO ONE has them for more than five minutes.
I also covered my surface with plastic wrap in order to try a new non-stick approach. I oiled it as well and learned that that is a HUGE MISTAKE. Everything slippin and slidin around got the better of my patience.
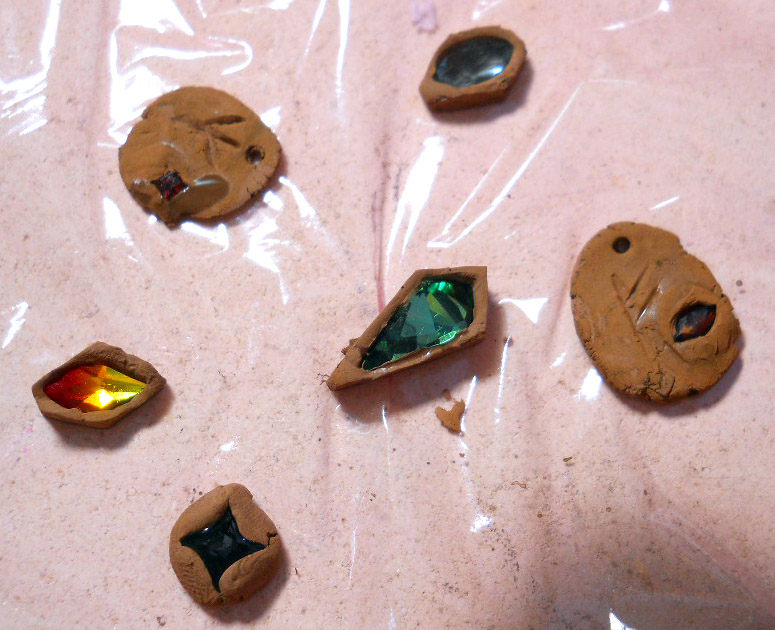
But after all that fighting, I ended up with a slew of new pieces:
I let these puppies dry then shaped em better with some sandpaper on a Popsicle stick…only to have it slip off the stick. Whatever.
And then, set to firing……aw shit…..
Despite what my research had told me, SWAROVSKI RHINESTONES DO NOT FIRE WELL. Fuck.
I contemplated my results over a snack of chili I made by chucking a bunch of shit in a pot in a random order, with inspiration from a friend’s recipe that I completely forgot because I was too lazy to go print it off on paper.

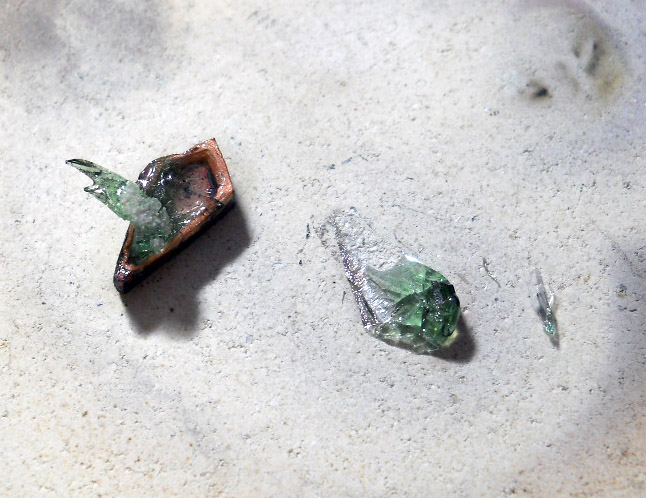
I resorted to melting the glass down into rounded edges so sharp pointy things don’t stab me while doing something completely unrelated.
After my quenching adventures, I moved on to my polishing journey with POWER TOOLS.
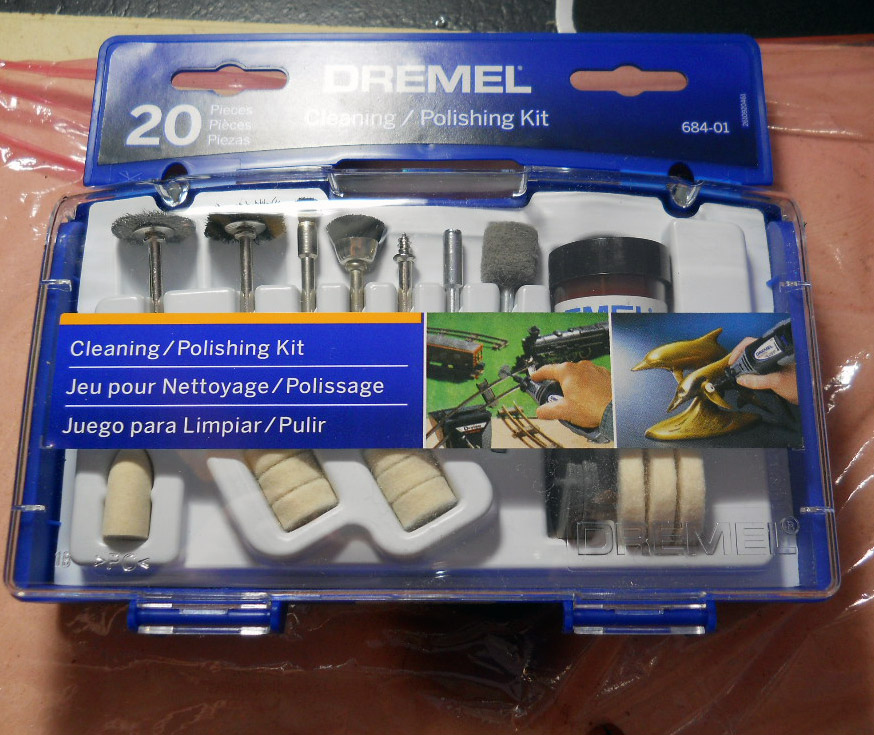
I went through each and every one of the tools here…and found nothing useful except for the wire wheel. Which I hate working with SOMUCH. Each one of those bristly bits somehow ALWAYS end up in my skin and I HATE that feeling.
And….my ring did not survive this stage. It snapped in pieces after putting pressure on it, revealing a still-clay core. Since I have fat sausage fingers, I concluded that torch firing is not a great method to go with this.
Then it hit me….I have access to a glassworking studio…WITH KILNS. If it’s not too expensive for rental, I may journey over there instead of giving myself a repetitive stress injury and inhaling butane while holding a torch.
But with nothing else to do at the moment, I chucked the pieces in the “Reminder Pile” and moved on brutalizing the rune pieces.
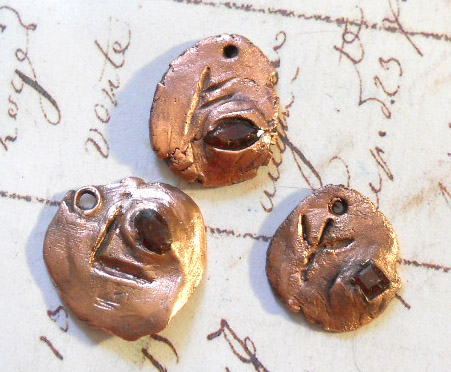
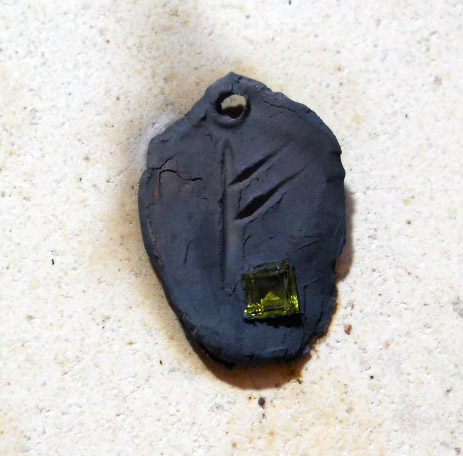
And I must say, I love the results.
Yes, I KNOW you are supposed to cool down gems gradually instead of quenching, but I was EXPERIMENTING. And lazy. But without EXPERIMENTING I would not have learned:
- Garnets crackle in blue sparkly bits
- Peridots and Garnets hold up to heat and will probably survive gradual cooldown
- Blue topazes lose their blue
Yes, I probably could have researched further and learned this otherwise, but now I have CONCRETE EVIDENCE and can learn from EXPERIENCE. So shut it.
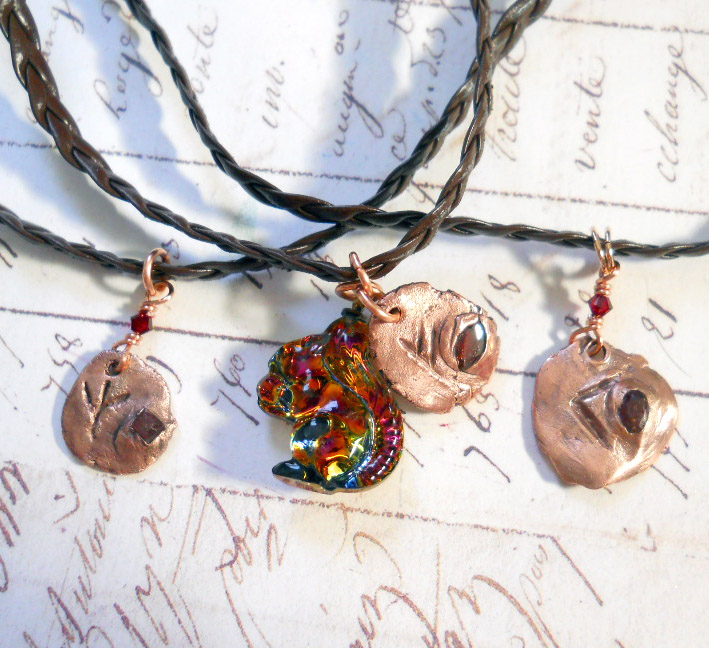
REGARDLESS! These are the survivors and after shining the shit out of them, I mounted them onto finished jewelry. The piece I am claiming for myself went rather will with the Squirrel Swarovski pendant I was hoarding for an appropriate use. The jury’s still out on whether or not it was an appropriate use, but I do know that I need to buy more.
With all said and done, I am pretty pleased with my results. And making shit doesn’t take as much clay as I thought it would.
While I like what I have created, I want to explore further and figure out how to make more “refined” pieces. The rough rugged faux forged look is great for rune pendants, but I want MORE.
Perhaps I shall regale you with my continued adventures, maybe vlog a thing or two and construct a formal tutorial for those who are interested in following in my footsteps.
For now, I am exhausted. I shall leave you with this, a finished chapter where I learned something…I think…
Until Next Time!
-Odin